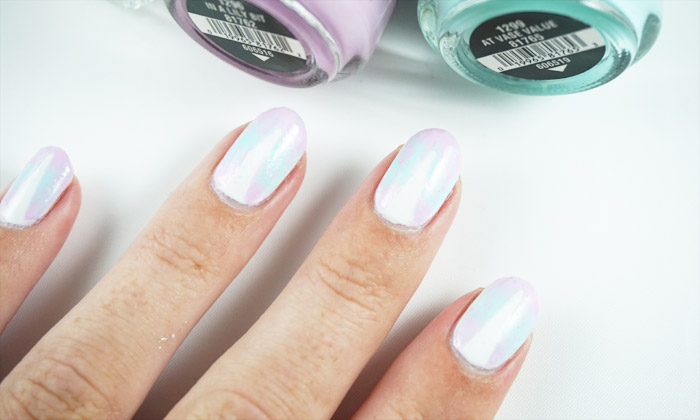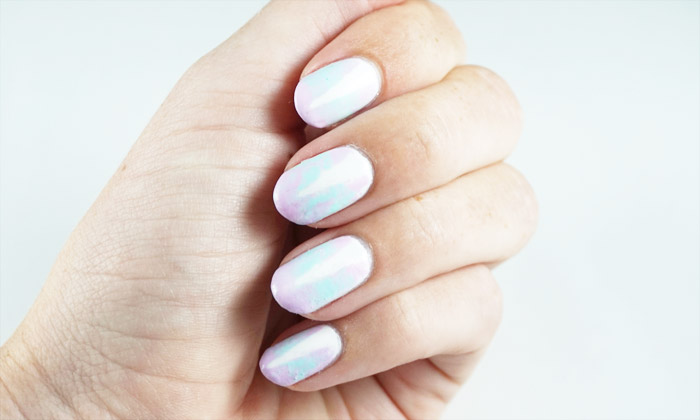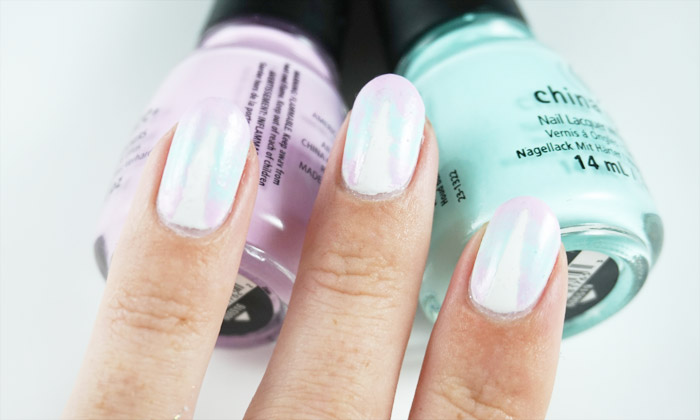
I already gave you a hint in my post about Essie – Private Weekend, that I found that it looked perfect for nail art. White polish always gives me awesome ideas. I had a billion plans that I could have done, but in the end, I settled with this pastel nail art. I will also upload a quick tutorial on my Instagram page one of these days. This nail art might look a little bit difficult, but trust me, it isn’t!

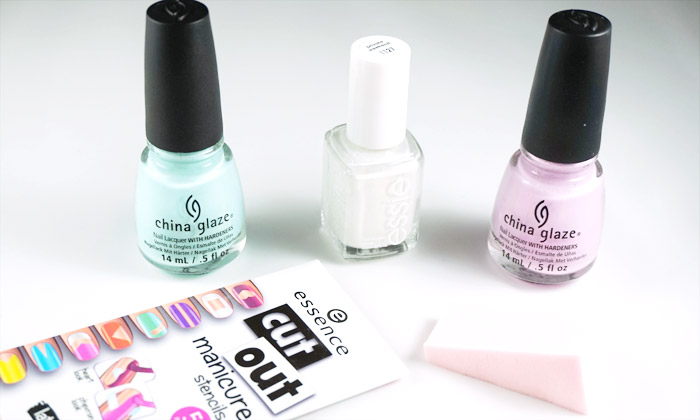
The things that I used for this nail art are: A white base color (Essie – Private Weekend), two pastel nail polishes (China glaze At vase value and In a lily bit), a set of nail vinyls by Essence, a make up sponge and a fast drying topcoat.
The steps to create this nail art are quite easy:
- Polish your nails with the white base color and let it dry completely or apply a quick dry topcoat.
- Place the nail vinyls on the nail, wherever you want your nails to remain white.
- Paint stripes of each color on your make up sponge.
- Dab the nail polish onto your nail, you can make it messy it doesn’t need to look like a gradient.
- Apply a topcoat to even it all out.
It’s that easy! I would have applied a holo topcoat in the end, but sadly I don’t own one.

It’s cute right? I do not see myself as someone who does nail art every week, but I really like my occasional nail art. Mainly because it is just so much fun to do!

This is the first time that I used the Essence cut out manicure stencils. They have really cute designs, but the package only contains 5 or 6 pieces of one design. That means that you have to reuse the stencils if you want a full manicure with the same design. I didn’t really like this, since the pattern remains nicer if you do not use the same stencil twice. The stencils also weren’t super sticky so reusing them wasn’t the best. Of course, you might want to do use a different stencil on each nail, so in that case it doesn’t matter. The stencils cost less then 2 euros, so you can easily buy two.
I really enjoyed making this pastel nail art
Do you ever try nail art yourself?


